-
See Hydra and Coralline at Cult Couture 2013

I started working on these garments ages ago… It’s been overwhelming, destructive, creative (obviously) fun and exhausting. I’m so pleased that Hydra and Coralline were accepted for Cult Couture 2013 part of the Southside Arts Festival (http://www.southside.org.nz/), and is a premier fashion event happening very, very soon.
Hydra, you can read more about here, Hyrda Emerges.

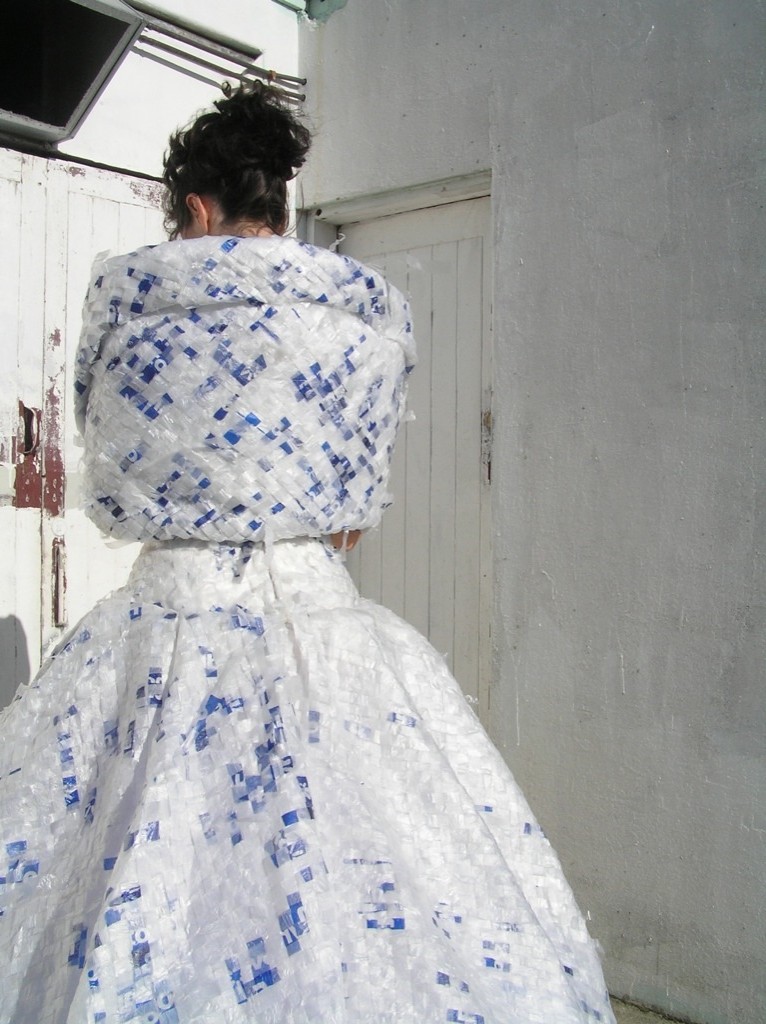
Emerging from a hydrothermal vent, Hydra explores her domain… Formed by my exploration of hyperbolic undersea organisms, Hydrais a hybrid of deadly plastic and organic motion.
Hydra is also the result of my experiments with plastic Warehouse bags, beginning in 2004. Her structure, both ridged, fragile and free flowing, reflects the varied polyps and coralline organisms that inhabit the hidden undersea world. A world of deadly predators on a microscopic scale, a world that is being infected by human waste, nano particles and degraded plastics.
Coralline, read more about the making of Coralline.

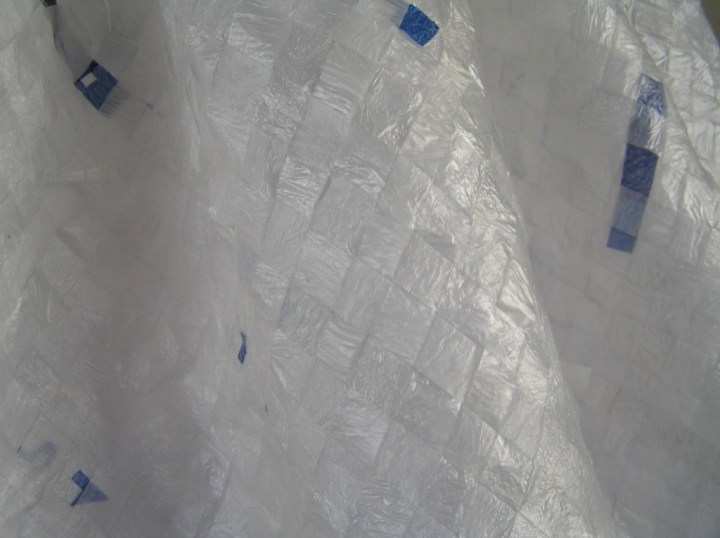
A shimmering fantasy fashioned from post-consumer waste, the fabric used to create this garment is woven out of plastic Foodtown bags, collected in 2004, woven into one continuous piece of material, which will probably outlive the fabric lining of the bodice!
Coralline embodies my love of dress making, celebrating my whakapapa… my mother, and grandmothers, and their creativity. It is this that has inspired my own journey into dress making, fashion and an obsession with fabulous textiles.
Structurally, it is an homage to two of my favourite designers, Christian Dior and Alexander McQueen artists who embodied luxury, excess and the extremely refined and sculpted female silhouette.
Love the artists
Do you know what is really interesting? Artists and designers must pay to enter garments in this event ($45 per entry) as well as cover all the costs of creating them, that is time, materials, design, experimenting…. and the event organisers make no provision for complementary or even discounted tickets so the designers can attend. Attend the event that is only possible because they work so hard, for free, and did I mentioned that designers already pay to enter garments?
Is this supporting the arts? From the outside is looks like Auckland Council is supporting the arts. But is passing on more cost to the artists supporting the artist?
I think it’s a bit like a book publisher telling their writer they must go to the local bookstore and buy themselves a copy of their own book, or a record company telling a songwriter they need to buy a copy of their album from a record store. This also helps to perpetuate the idea that artists do not deserve financial support and also devalues them and their cultural contribution to their communities. Providing tickets to the designers whose work is so essential for arts and cultural events, is one way of showing goodwill and saying, ‘Thank you. We appreciate you and your work. You are valued’, and is a simple way to show support for artists and designers.
I want Cult Couture to Love the Artists! Do you? Let me know x
Here are the details Cult Couture, and where to buy tickets:
General Admission event (theatre tiered seating)
All tickets $25 per ticket
Pre-schoolers may sit on ticket buyer’s lap at no charge
Service and Box Office fees will apply.
Venue Box Office Hours: Monday to Friday 10am to 2pm.Start: 8pm
End: 10.30pmFor wheelchair bookings and enquiries please contact the Box office on (09) 966 1743.
Vodafone Events Centre
770 Great South Road
Manukau City
09 976 7777
ticketing@pacific.org.nzEntrance: Gate 1 & 2
Parking: Northern Carpark. Pay and Display $4.50. Liquor Ban Zone in all external areas. -
Coralline, 2013

It is almost impossible to document how much work goes into some of my bigger creative projects. Much of the time I use to make is in the evenings, on weekends, and those days when the kids are busy working outside… I was excited to be interviewed by a local journalist about the garments I have entered into Cult Couture this year (watch this space!) and she was interested in ‘how long it takes to go from the original idea to the finished product’. This is probably the most asked question I get… don’t know why, perhaps because we often calculate value by measuring time? I don’t know.
If you read my blog regularly, you’ll know photographic documentation plays in important role in my work, both to record my ideas and revisions, and to record the process. Here are some photos of the process of making Coralline…

Initially, I draped the woven mat to learn about how it lends itself to my idea. I discovered how beautifully the weave just wanted to be pleated and folded, it had a very strong structural look and feel.

I used traditional weaving techniques to make this mat, gently folding the ends into the back of the mat to finish the edges. I would certainly have to strengthen that edge if I was going to be able to make it into a wearable garment that would withstand wear and movement. With meters and meters of delicate hand woven mat to sew…. I was lucky to be able to use my regular sew fun venue to really spread out and machine the edges.

With the edges secure I was able to play around more with my ideas. I experimented with various draping designs before I resolved the look I was after.

These photos show a version I created without cutting the mat, not cutting the mat would limit the garment more that I wanted, it also added a huge amount of bulk to the finished garment. I would probably also have to pin the dress on the model! Not ideal.

I enjoyed playing with some asymmetrical shapes. After swooning over Alexander McQueen’s fabulous final collection I was inspired to try some bolder shapes, here experimenting with a peplum look.

I loved this look.

Loved it. It presented some interesting asymmetrical shapes and chunky folds at the back which added too much bulk and weight for the bodice to support. I would probably also have to hand sew the whole thing together, and honestly, that would destroy my hands. The plastic is very thick and I had to wear sturdy thimbles to hand sew the bodice, and I broke to many needles to count!

It also used the bulk of the width of the fabric, there by shortening the skirt dramatically, and I wanted something that would fill the space and sweep the floor as it moved. Back to the drawing board…

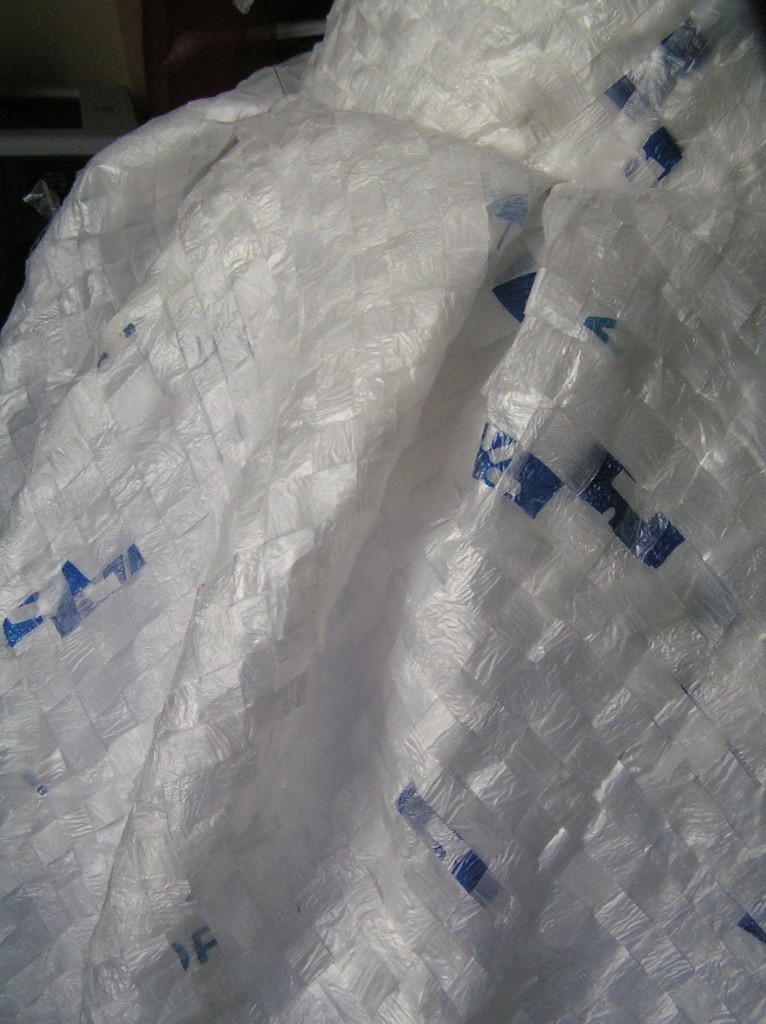
The final silhouette I went for is this, a simple slim bodice with a dropped waist, and big box pleats. I made a boned bodice (for the first time!) using cotton and some repurposed satin from a bridal project, shaped, folded and pinned the woven fabric to the boned bodice, then carefully hand stitched together. This was also one of the most harrowing parts of the project, as it had to be perfect. The garment is test pinned above, and it actually took two attempts to attach the skirt to the boned bodice, about three layers of cotton in the bodice, and another three layers of the plastic woven fabric.

Yes, I broke my sewing machine needles! No, I don’t really want to be attempting this kind of sewing again unless I can use an industrial machine! Very slow going, very hard work for my old machine. But I was very happy with the results. Check out the pleats!

Some words on the inspiration behind this garment…
A shimmering fantasy fashioned from post-consumer waste, the fabric used to create this garment is woven out of plastic Foodtown bags, collected in 2004, woven into one continuous piece of material, which will probably outlive the fabric lining of the bodice!
Coralline embodies my love of dress making, celebrating my whakapapa… my mother, and grandmothers, and their creativity. It is this that has inspired my own journey into dress making, fashion and an obsession with fabulous textiles.
Structurally, it is an homage to two of my favourite designers, Christian Dior and Alexander McQueen artists who embodied luxury, excess and the extremely refined and sculpted female silhouette.
Coralline, 2013.
-
sewing room
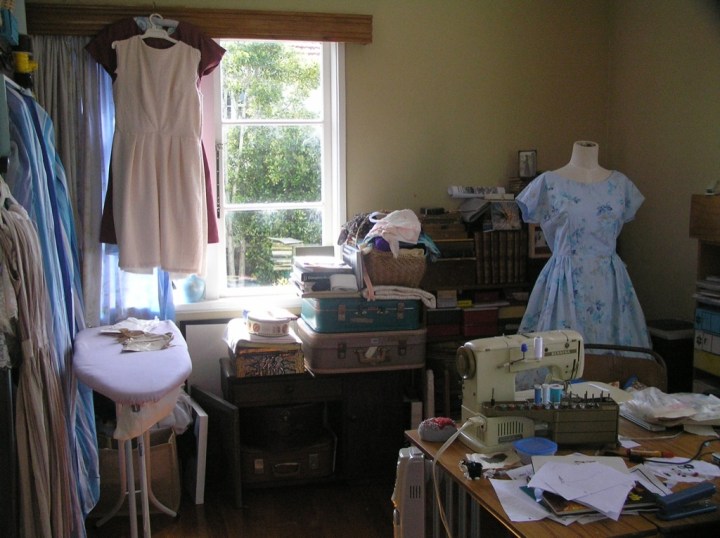

My sewing space, creative space, my refuge. A sanctuary even.
I had a bit of a clean out and tidy up, like many Auckland flats we have issues with evil black mould. I hear you say, “Oh My God ! The fabric!” And that’s exactly what I thought too. I have also had these worries about my fabric fading, so the blue stripy shower curtain (destined for beach bags) is a temporary protection while I sort out a storage solution that prevents fabric fade while I can still see what I have for inspiration.

So, I’ve been getting a bit more proactive about cleaning and airing out this room. I say this like I even have time to devote to cleaning. It’s probably something to do with this lovely Spring weather too. This is a rare glimpse into the room that I run to whenever I have the chance!

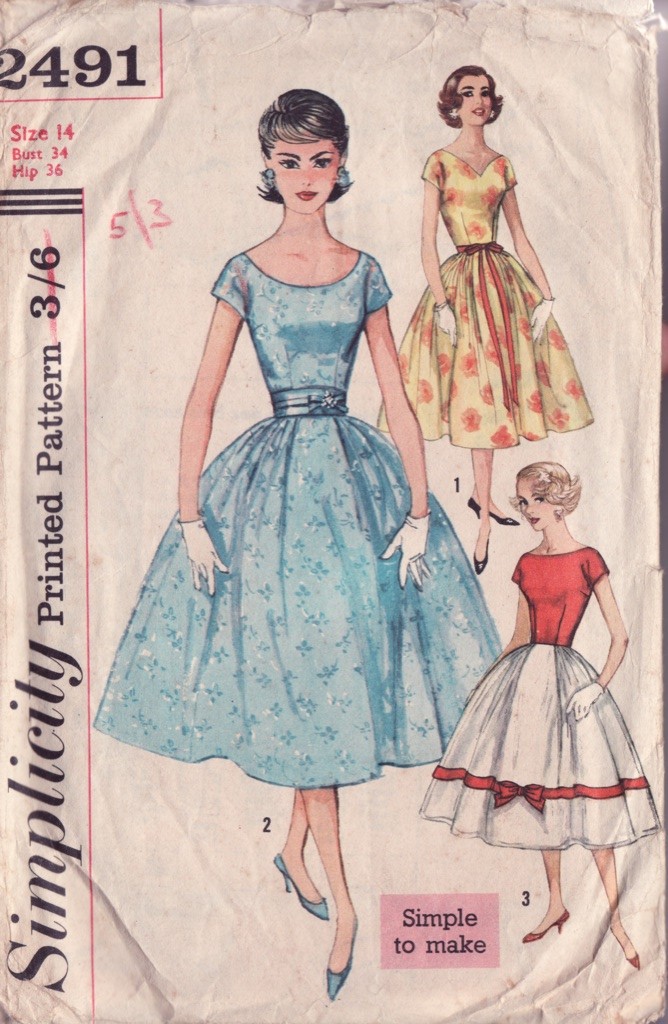
That is Simplicity 2491 just there, in progress. Here’s a the pattern, just to give you a better idea…

-
summer = swimsuits
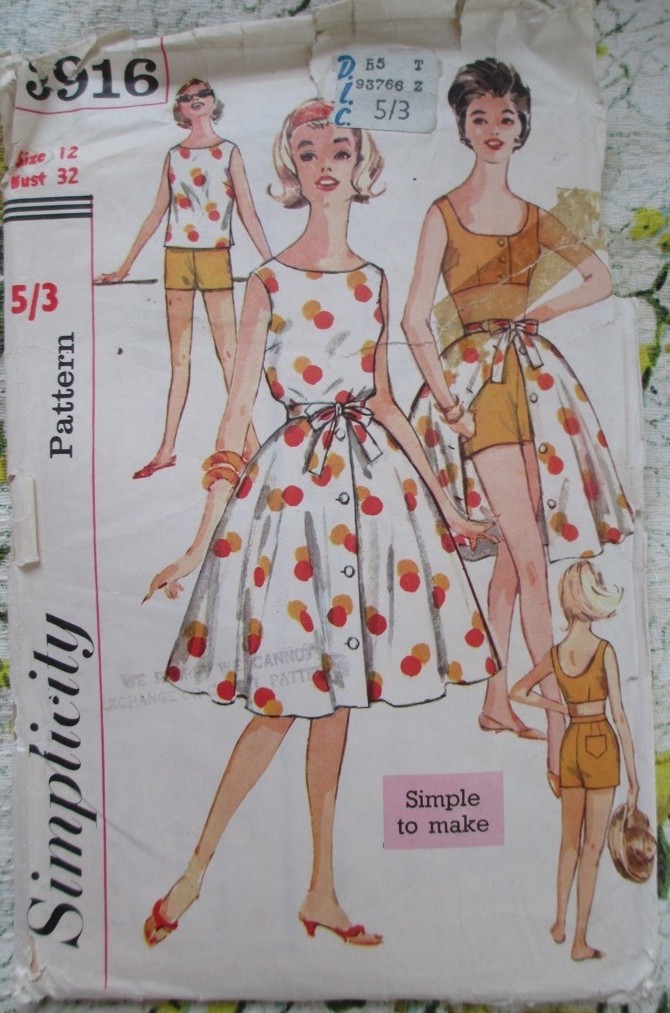

Simplicity 3916, and Simplicity 5507. Very excited to find these babies in a trademe auction. I have been wanting to try my hand at a vintage style swimsuit for so so long.

Isn’t this one gorgeous? I love the beach coat too. Now, onto source the fabric!
-
Sewing gingerbread people
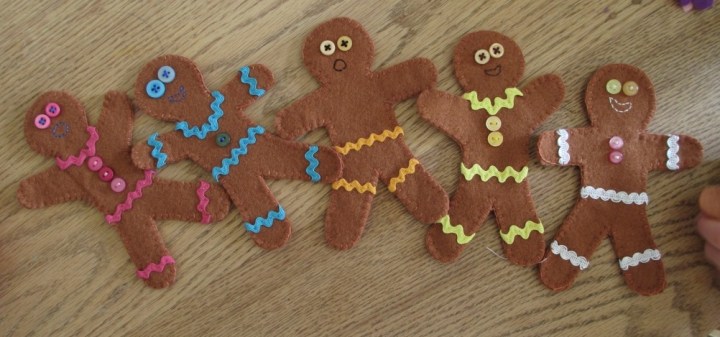

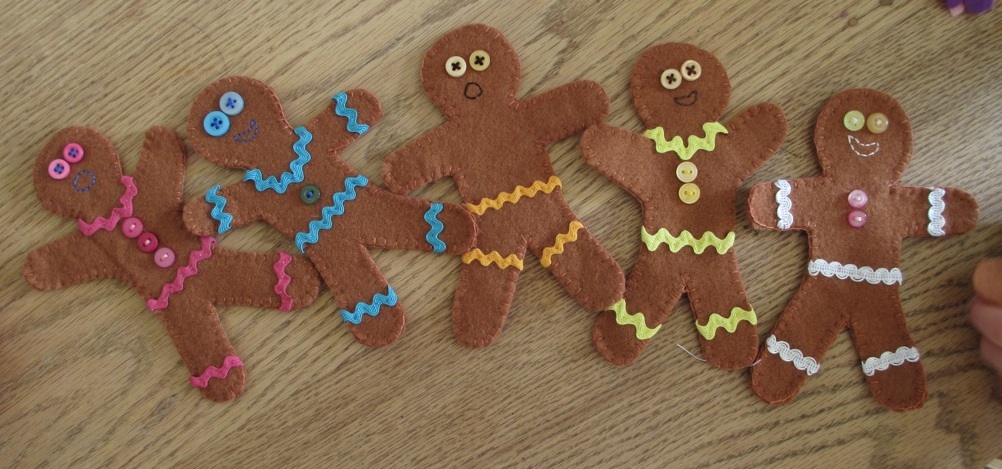
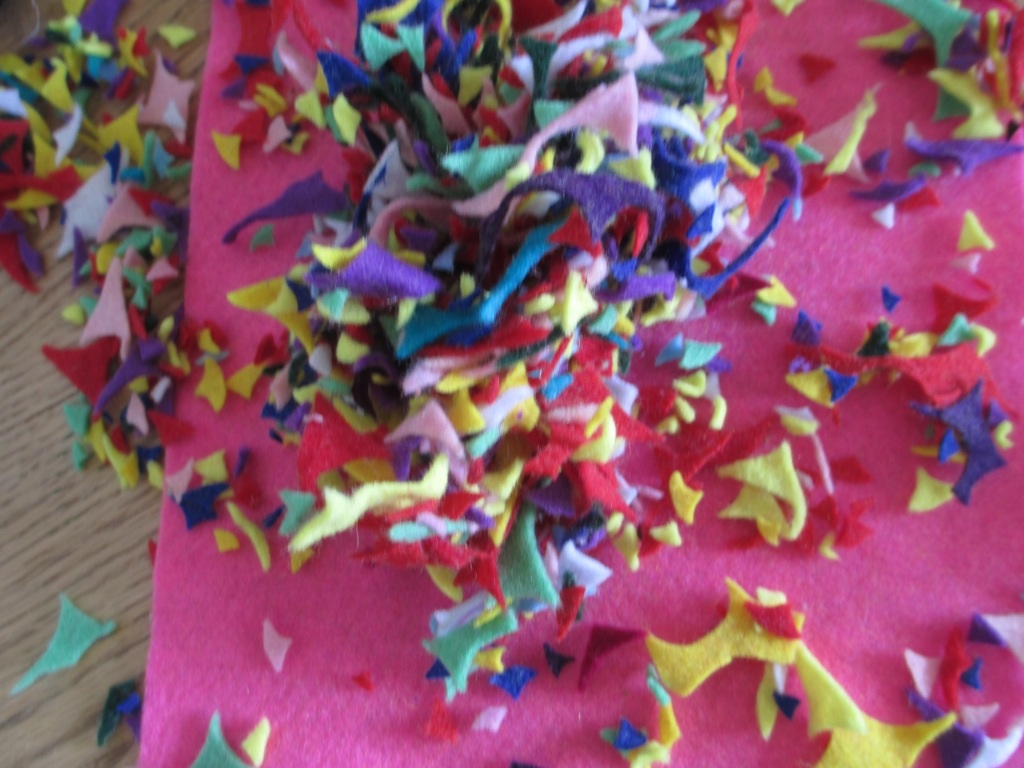
I started this gingerbread decoration project hmm, last summer, I pulled them out, to see it the kids were keen to have a sew. Of course they were!

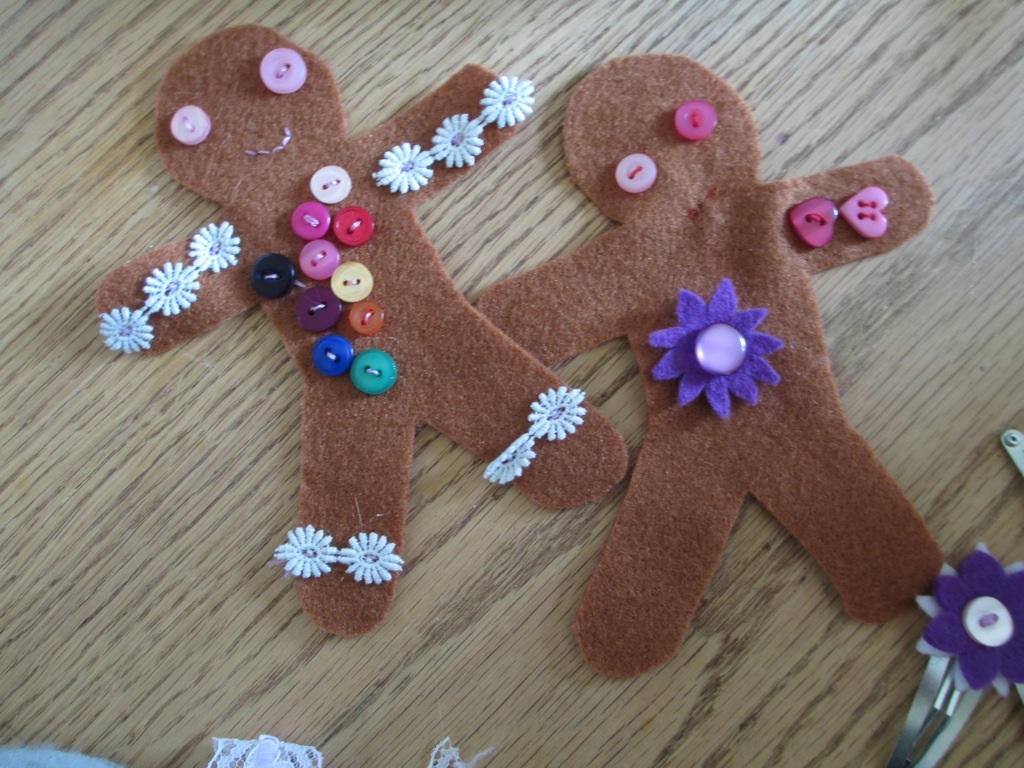
Luna’s two gingerbread people. Looking fabulous, she asked for a little help with the mouth (on the left) after she made a cute little mouth on the right. She wanted to use a ‘rainbow of buttons’.

Blake made a crane an the left, and a gingerbread person with ‘all the green buttons’. For a first attempt at hand sewing, he picked it up straight away, totally understood the button sewing technique – very impressive! After that, he was mostly interested in playing with all the off cuts from hand cutting out felt flowers…

Annnnnd, I made a couple of hair clips.

-
Simplicity 2491… complete!
This project has been on the go for some time now, probably since last summer… ah, and now I’m finally done!
I had two large sheets, both vintage, medium weighted cotton and I thought I’d make a dress with a plain blue bodice and full length full skirt out of some sweet floral fabric. I opted for the warmer blue sheet on the right.

While initially I planned to make version three with the coordinating bodice I went with version two, with the option of a cummerbund. I was shocked to discover the front bodice piece with the nice neckline is missing from the pattern, damn! So I re-drafted the neckline from another pattern piece, the sleeves had also been hacked to straps (gasp!) though the piece was still in the envelope, phew. Here’s the fabric and pattern together, I decided to interline the bodice with the plain blue on the left, a cotton blend, it worked well, giving a little more structure.

So, it’s all finished now, and I’m very happy with it.

Front and sides…

One of my lovely assistants adjusted the tension on my machine at one point and I managed to sew some side skirt panels all the while wondering why it was pulling slightly and wanting to gather… That’s midnight sewing though, I guess sometimes it means I push ahead, when I need to pause. But never mind, it all works out ok, and a little pulling and ironing and stretching has minimized it.

I fiddled around with the bodice fit, I cut this baby out without making my regular pattern adjustments, so needed a bit of retrospective easing and darting. Interlining the bodice was a good move, I feel like the skirt could do with a little more body, thank goodness for my vintage style petticoat find, yeah! The fabric doesn’t have quite the body I feel the skirt needs. But still I love it, and still very wearable. SO happy to have one of those unfinished projects done and dusted.

-
fun with freezing
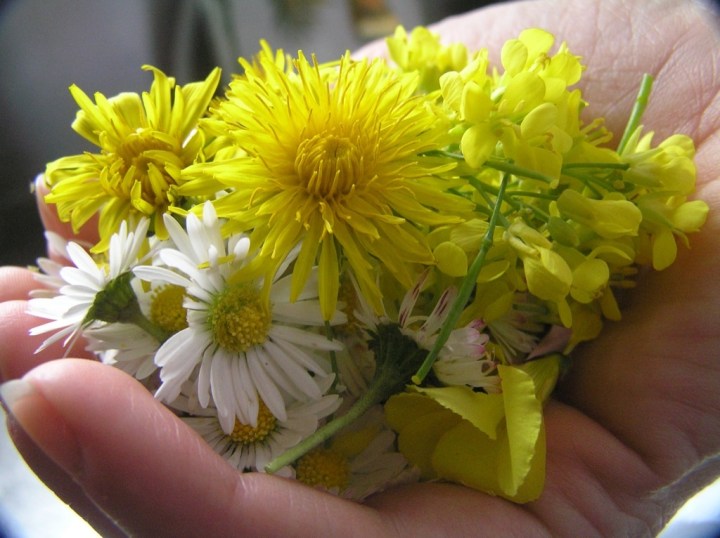

With Luna and Blake quite sick, I’ve been pulling out some of the more ‘led by me’ activities. We have made flower ices before, and we had a bit of a glitter stash, so we tried some more combinations.

Obviously, you can make ice easily, and pick flowers, shells, or whatever you have around outside, or in? That you might like to experiment with. This is an easy indoor or outdoor activity, and we like working out in the sunshine when we can, which also means there is no such thing as mess!

I grabbed some food colouring and glitter to along with some sea shells and flowers fresh from the garden.

This container is for storing eggs in the refrigerator, we use it for nice half round ices.
It makes these really nice little domes of frozen flowers…

Always interesting to see what floats and sinks, and the ways the colours change or settle as they freeze.

Cheers!

Frozen wheel shell.

Getting a bit messy…

-
Easy vegan blueberry cheezecake
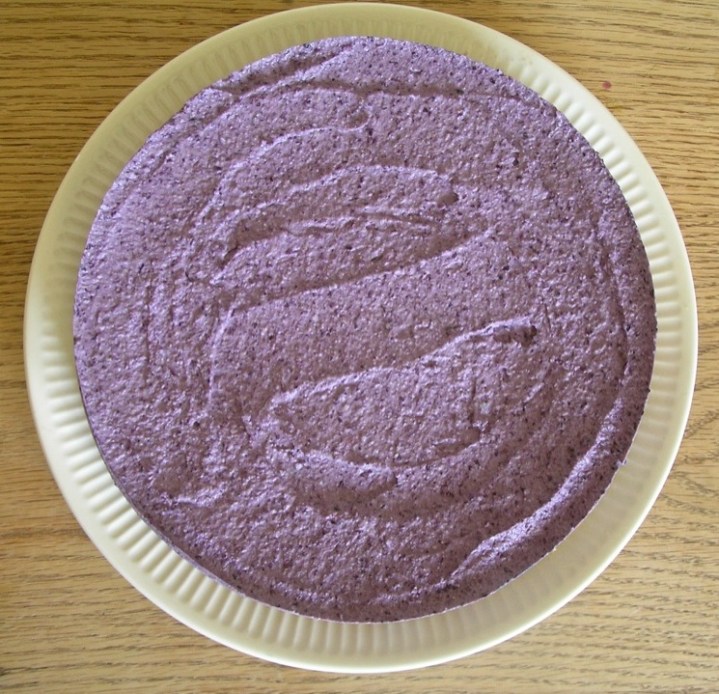

Yummo! Who doesn’t love a raw vegan cheezecake? I’ve made them before, like this other nearly vegan cheezecake. This recipe is for a smaller cake, you know, perfect for the more intimate dessert spectaculars. Or just for your afternoon cup of tea.

I have figured out a few tricks to make them, I blend the almonds dry before adding the dates. I blend the drained cashews with water/juice to a smooth pulp before adding the rest of the ingredients, this ensures that it the texture is as smooth as smooth can be.

So, here goes! You’ll need a blender, and a spring form tin, or your other favourite dish to chill the cheezecake.
Base ingredients
1 cup of almonds, I used half lightly toasted, half raw.
1/2 cup, give or take, dates
Blend almonds thoroughly, slowly add dates until you reach a good consistency, you need them to pull the ground almonds together, while not being too sticky. Take your time and test as you go. Press into the base of a spring form tin. I line the base with baking paper. Refrigerate for an hour for so, this time, I chilled mine over night.
Filling ingredients
1 and 1/2 cups of cashew nuts, soaked, overnight is good, I left mine two days rinsing and replacing the water after a day
1/2 cup water or fruit juice, I used some mixed berry juice
2 cups frozen blue berries
1/2 cup melted coconut oil
tea spoon natural vanilla
1/2 cup coconut flakes
Rinse the soaked cashews, process in the blender, slowly adding the water or juice until it is smooth and very white. This is the best time to make sure the filling will be smooth and creamy, so take your time. Add the vanilla and just melted coconut oil, blend as you go, add the blue berries (I pulled my frozen blue berries out of the freezer a few hours ahead of time, softer seems to work better) and coconut flakes. Taste as you go, if you like a sweeter cake, add some sugar or honey softened or dissolved with water. Blend well to combine, then pour over the date and almond base, and return to the refrigerator. This can be frozen, but you’ll be wanting to eat it immediately!

Enjoy!
-
My first real venture into making a toile of a garment – or two!
Actually four!

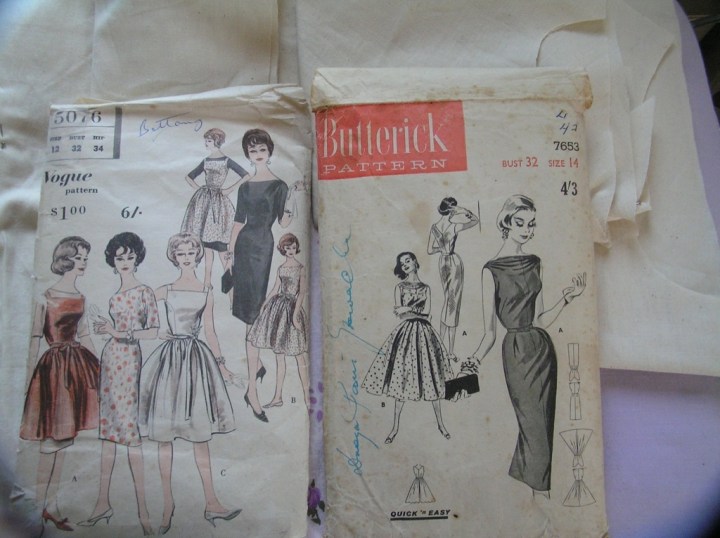
Don’t you just LOVE these dress patterns?? The two above had been trying to lure me into the sewing room for weeks. Thing is they are a size too small, and I just knew I’d have to spend a bit of time tweaking them, time that feels so limited at the moment.

That’s not even half of it, these other two lovelies have been creeping into my dreams as well. And with summer fast approaching one needs as many pretty dresses as one can sew! All the patterns pose no other major challenges, and are quick and easy to put together, so, at my last Sew Fun Retreat, I set to, cutting out the bodices for all four garments. Cutting, pinning, pressing for speedy sewing at any given moment.

I was given this beautiful fabric above by a friend, and well, if that’s not motivation to make sure it’s perfect from the start, I don’t know what is. So, I figure it’s time to make a toile and see what that’s all about. Simplicity 4730 presented no unexpected challenges, and I made it up without my usually adjustments, and it was good to see that I will need to make them – I usually need to make a short/sway back and hollow bust adjustment – so fairly easy. Watch this space, I have Butterick 7653 ready to go, with a full run through of the pleats at the neckline, the others are all assembled and waiting their turn for my attention.

The spotted navy on the left is a fairly heavy crepe that I think would be perfect for this dress, I’m planning the slim skirted version. Almost ready to cut it up!
-
the thing I love
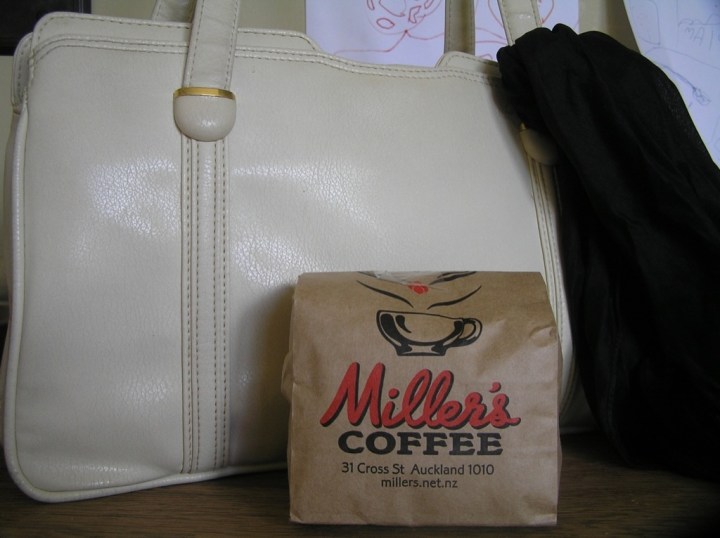

…is coffee. Actually, it’s probably the people who make coffee that I love the most.
I abandoned todays adventure as the kids were just not up to it, not much sleep has been had at our place, and Blake was a bundle of tears. It all turned sweet when stopping at my favourite little coffee roasters to recover, and the guy roasting beans asked the kids if they’d like to see what he’s up to… Of course they do! Very exciting. Learning about where he sources his beans, the temperature, and how long it takes, and it smells sooooo good.
We walk out with a little packet of freshly roasted beans and I get my short black, all complements of the coffee roaster!
Thank you Miller’s! You made my day x
artist, writer, curator, mentor