
I have just completed this lovely new dress for summer, and this post has some finishing details that I find essential to a really nice finish on a bodice, not so much a ‘how to’ just a glimpse into the process.
I have made this dress before, the long sleeved, full skirted variation, in a printed houndstooth crepe, in green and black, you probably remember this autumn dress. I have also made a blouse based on the bodice, in lemon yellow crepe which you’ll find over here. It was easy, fits so well, and will be a staple for the cooler seasons.
I am using this stunning warm blue crepe from an op shop find ages ago – 5 meters by 1.2 wide, for, can you believe $5? Dream fabric find! There’s nothing really difficult with this dress, bateau neckline, sleeveless, with a side zipper closure – actually that can be a bit tricky!

That’s my sewing table all set at Sew Fun. My usual approach is to cut out pattern pieces, mark all the darts, zig-zag the edges (one day I’ll get my overlocker out…) stitch the darts and iron on the facings (not very ‘vintage’ I know, but I inherited bags of the stuff from my nana, and that’s kind of make-do-and-mend, so that suits me!). This process means all the more time consuming not quite so exciting jobs are done. These are also good jobs for middle of the night sewing…

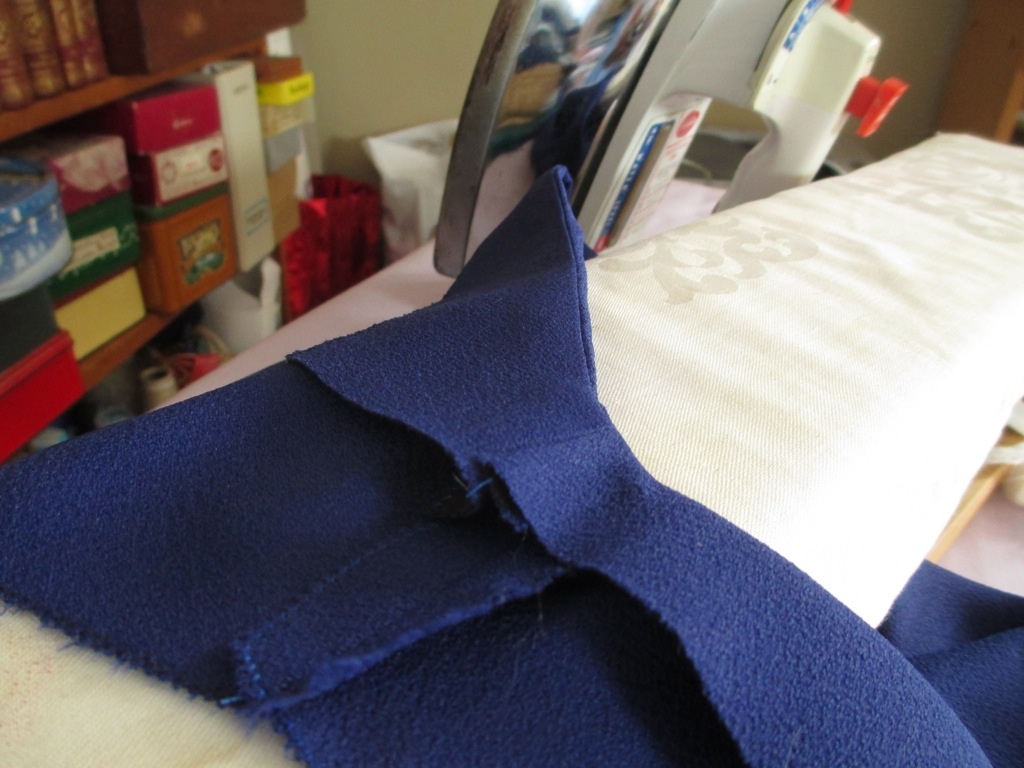
This bodice has a side zipper closure, the usual method of assembly that I use is to the sew the shoulder seams, and one side seam, I also sew the join/s on the neck facing, this one joins at the shoulders. Below, the facing is attached to the bodice and I’m checking how it sits.

Turn it out, and clip the curves, ironing as I go!
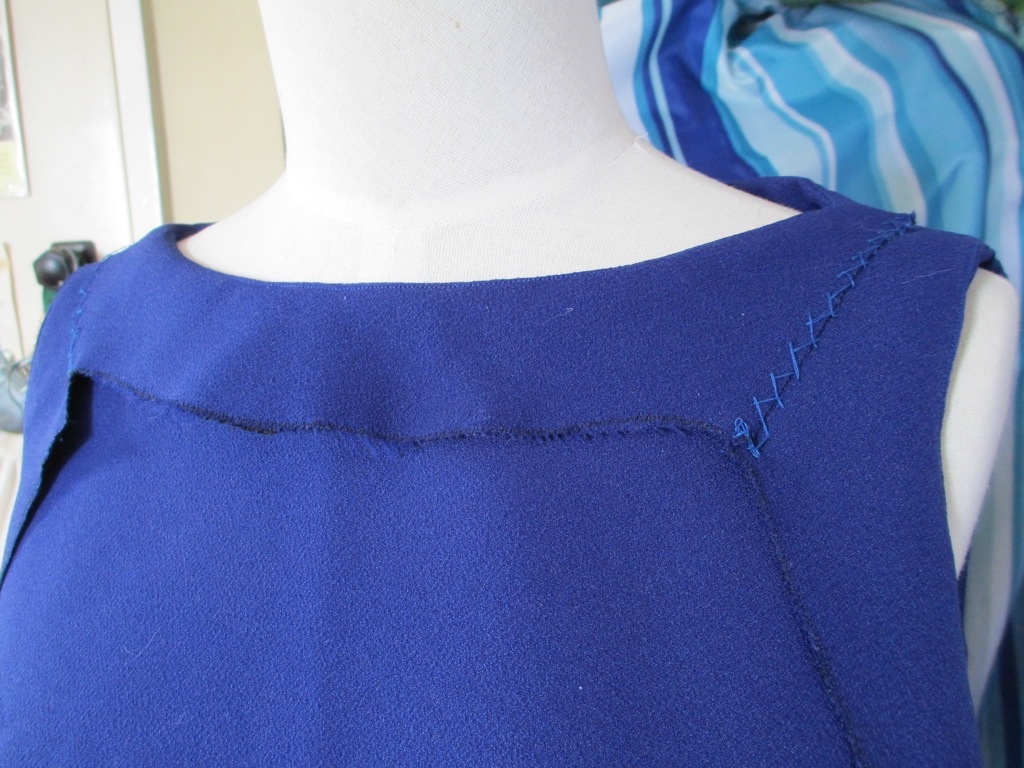
Mum gave me a good tip a while ago to help the facings stay put and to reinforce the neckline, stitch the facing down to the seam allowance, below, the bodice is the on the left, and the facing, to the right, you need to iron this well and guide the fabric through to ensure the layers of seam allowance are tucked under to the right. On this dress, I stitched the arm facings down too.
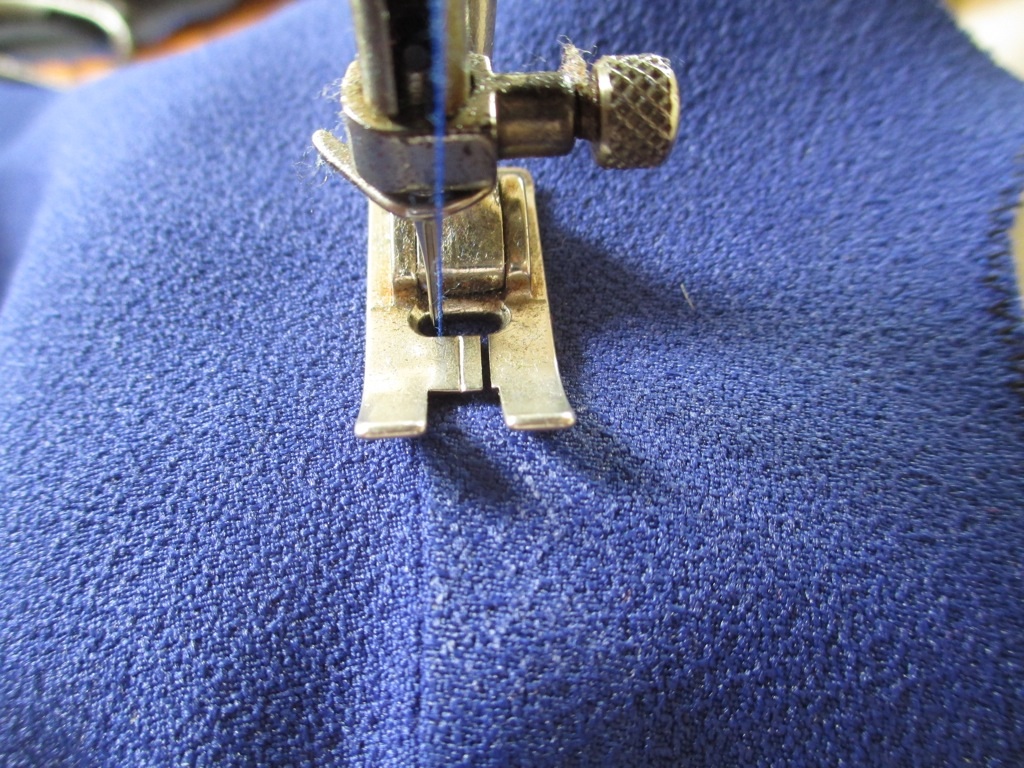
It looks something like this, the line of stitches falling about one millimeter from the seam:
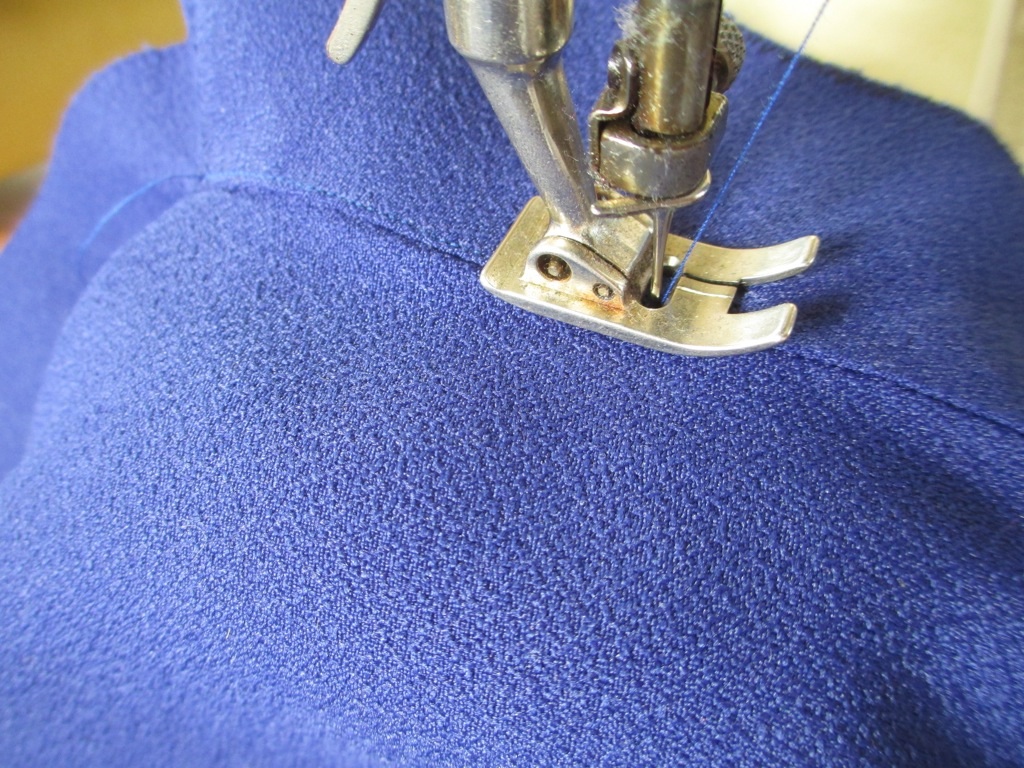
The same applies for the arm holes, and I work with this on my mannequin.

Sewn and clipped, removing the bulk at the under arm side seam.

Press! Press! Press!

Followed by a quick pin up on my mannequin again to check the fit and that it sits neatly…
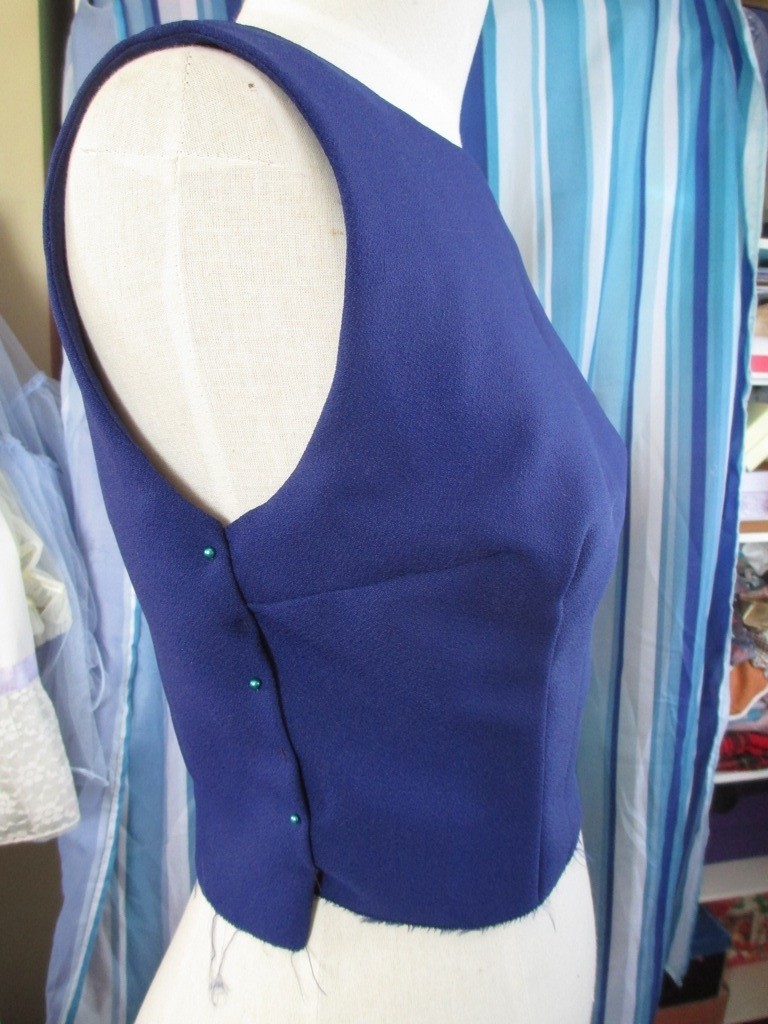
Pretty happy with that.

I like to check that the skirt pleats or darts (in this case) line up with the bodice darts, as is the intention of this design.

Once the skirt is sewn on and side zipper inserted, I turn the garment inside out and secure the bodice facings. Under the arm holes, I use a couple of small stitches to secure the facing to the side seam, with the neck line and shoulder facings, stitch to join, I use herringbone stitch as this allows for some movement, but ensures the facing stays tucked away out of sight!
Done! Here are some photos of the final garment…

Yes, it’s a bit of a wiggle dress!

Time for a cocktail!

